Preparation for the 5 Procedures
If you have spent a little time with the Level 0 and Level 1 exercises, you are ready to progress to level 2. You will NEVER graduate and stop performing from level 1 exercises. In fact, you will go back to them again and again. As you change during the course of your life, your understanding of these exercises will change as well.
I call this section a preparation for F.M. Alexander’s 5 procedures because you must have a basic understanding of Mechanical Advantage and breathing before beginning his main exercises. Remember, all of Alexander’s discoveries were primarily concerned with the use of the voice. If you can’t easily breathe and speak while performing these activities at any time, you’re doing too much work!
F.M. Alexander discovered there were many parts of his coordination he could only access while in some variation of a mini-squat. He called this a position of mechanical advantage and it is a terrific way to create a neck and hip opening. Without this practice, it is nearly impossible to create healthy coordination in the back.
To better understand what I mean, consider yourself standing upright. With the legs, hips, lower back, middle back, upper back, neck, and head all stacked vertically, you really cannot get a great range of motion in the lower back or hip if you want to reduce the arch in your back. By bending the knees a little, you instantly get better access to the movement of the hips and lower back and you can begin to explore what it feels like to have greater volume in the torso.
I’ll describe 3 flavours of mechanical advantage today. Your ability to improve at these exercises will increase as you understand the theory and feeling behind these activities at a general level.
Hinging at the Hip
A Rocking Game. This should be done while seated. The student will sit and rock forward at the hip maintaining a length and volume of the torso throughout the full range of motion. The placement of the feet and the coordination of the head, neck, and back will determine how far forward you can hinge. There is no need to hinge forward more than a few inches in the beginning.
For ease, the knees should be lower than the hips and the knees should be pointing over the feet (not falling inward or pushing out over the pinkie toes). The knees should not touch one another. They should be kept at a minimum of a 30 degree angle from each other. I prefer to practice with a much wider angle these days.
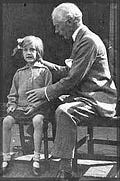
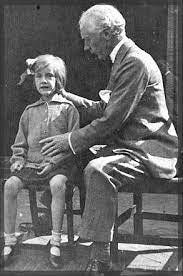
If you want to see what an excellent hip hinge looks like, check out FM Alexander in action!
Here are some things I notice from this picture:
His legs are wide. This gives the torso 3 main balance points - the two feet and the butt in the chair**.
The lower back is not arching.
The space between the shoulders is wide.
The head is neither pressing forward or pushing backward on top of the neck.
Here are some things you should feel if you practice this:
The neck does not need to stiffen during the lean forward. ever.
The legs should be pliable and not gripping up into the hips as you lean forward or back.
The full torso should have a uniformity of weight - that is - you should not feel the back portion of the torso in stiff weight or the front portion in dead weight.
Vertical Squat
A Rocking Game. From a standing position, simple release tension around the knees and allow yourself to lower in a soft and controlled manner of about 1-3 inches. You should experience a soft neck, a release of tension in the lower back, and a softening of the quadriceps. Be sure to think the knees going forward over the direction of the feet rather than inward (a la knocked knees) or outward.
On the journey back to standing, find a way to stand without creating excessive tension in the quadriceps. A helpful hint is to think the head rising up and knees staying away from the hip. Excessive gripping in the quadriceps will deny space in the hip and tilt the hip forward. In standing, the bucket of the hip should point UP.
Squatting
A Rocking Game. I think that the learnings you get from hinging at the hip in the chair and the vertical squat will give you a good preparation for squatting. Oftentimes when we think of squatting, we think of lowering our butts all the way to the ground as if we’re going to sit or pick up a box from the floor. In reality, a squat doesn’t need to go that far down to the ground. If you only squat 4 inches down from standing, that’s still a squat!
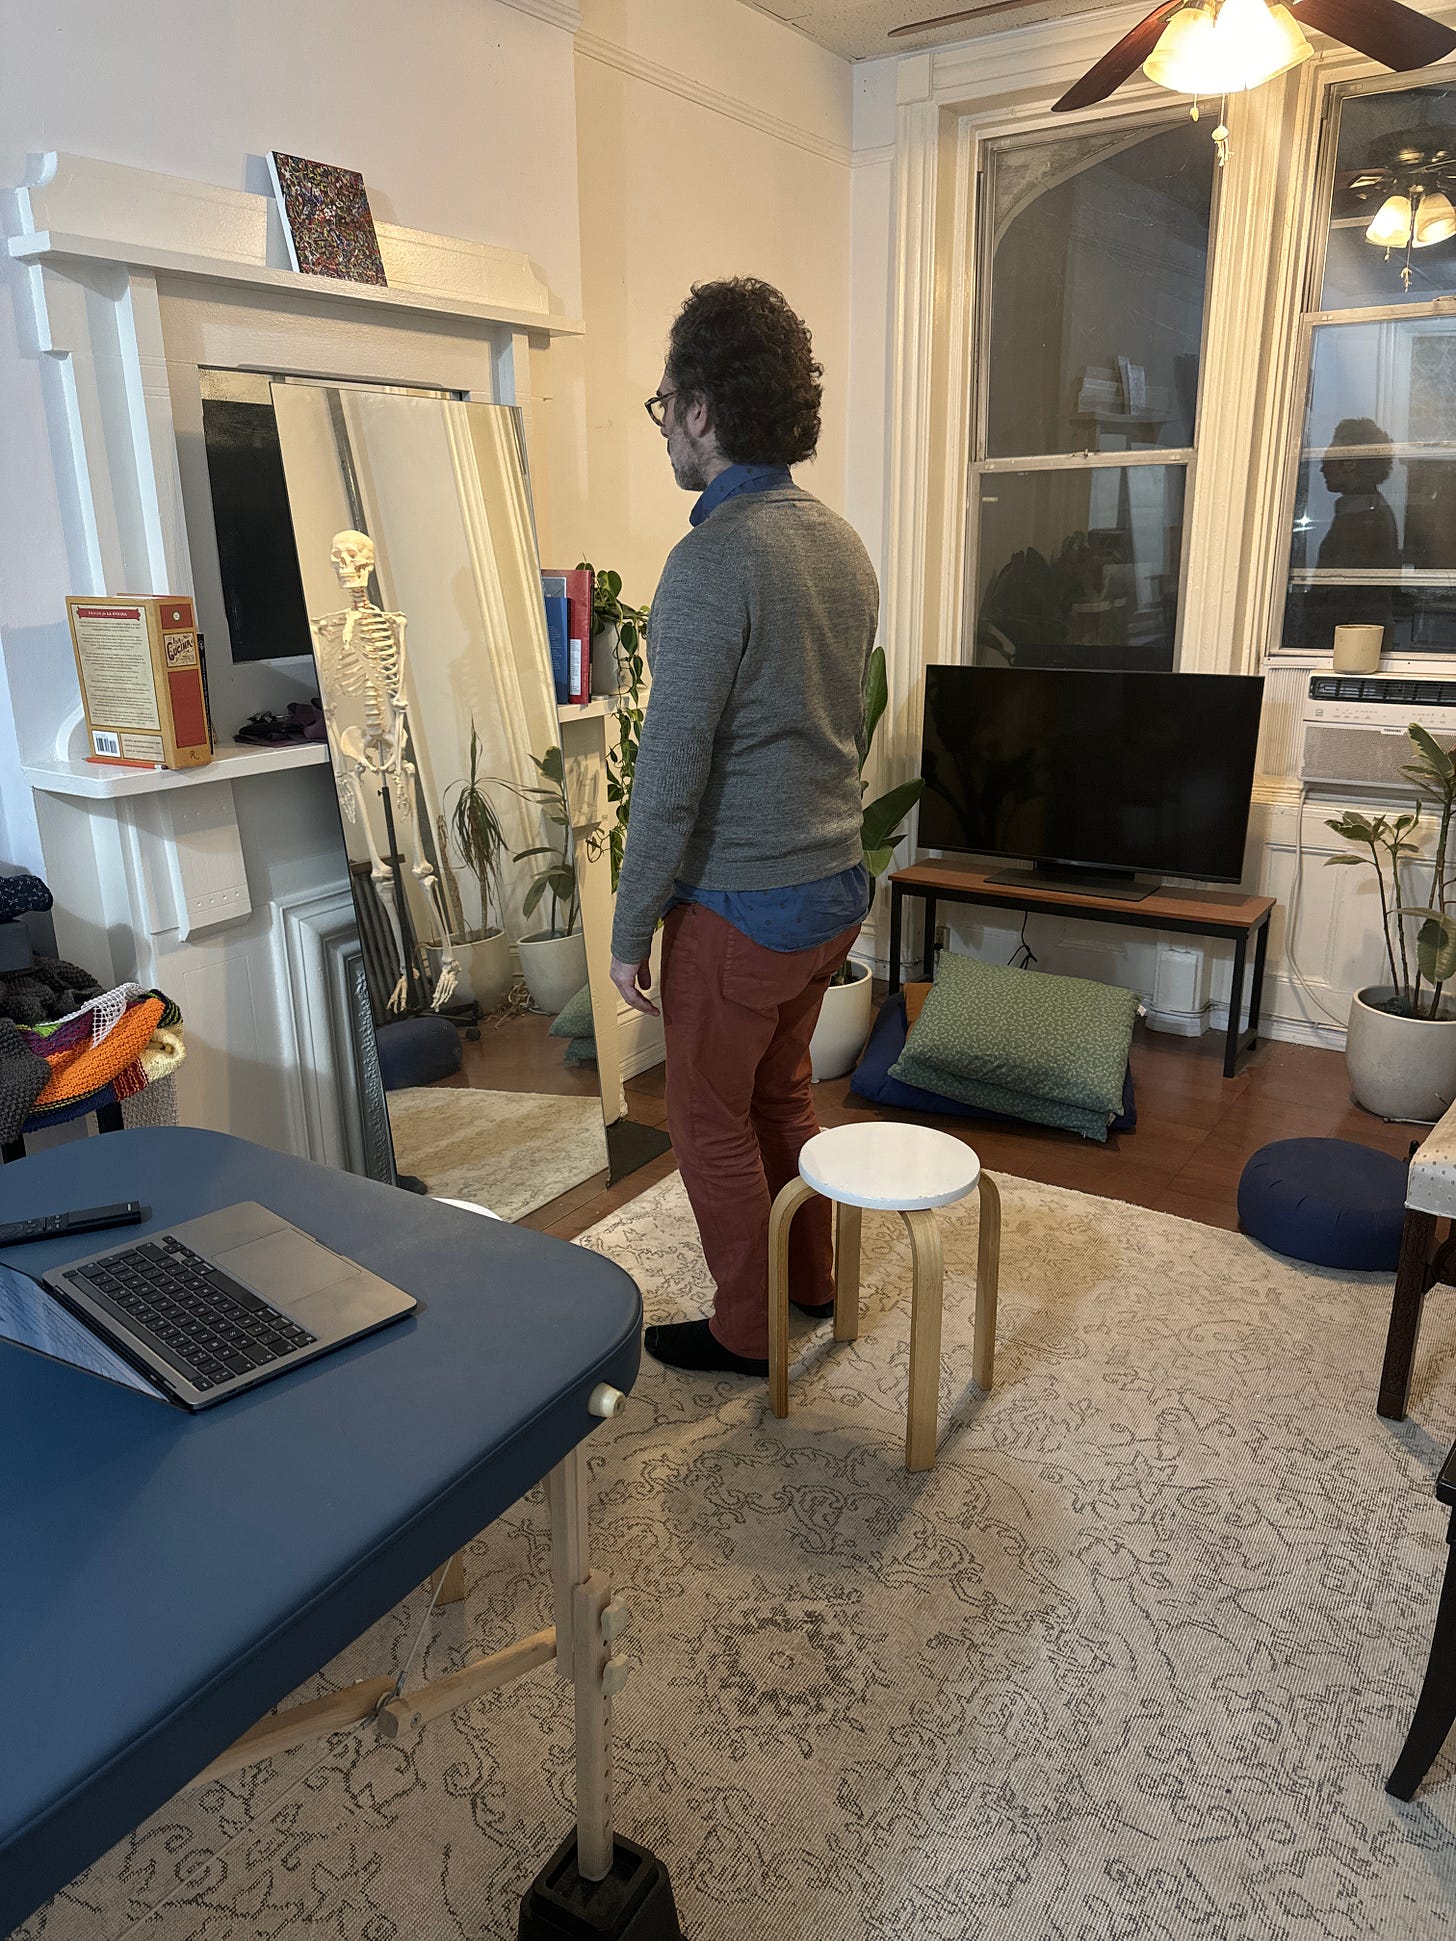
In the following series of pictures, you’ll see me squatting with various degrees of depth, feet width, and hip flexion. I’m playing with all of it and exploring how I can reduce the arch in my back, reduce the lean I habitually have to the right, and reduce the tension in my neck.
How exactly do I do this? That’s where the level 0 and 1 exercises come in to play...as well as the guiding thoughts and all of the other posts I’ve written! I also want to make sure that I don’t blindly repeat movements. I’m always looking to explore new ways to add volume and quiet to my whole self.
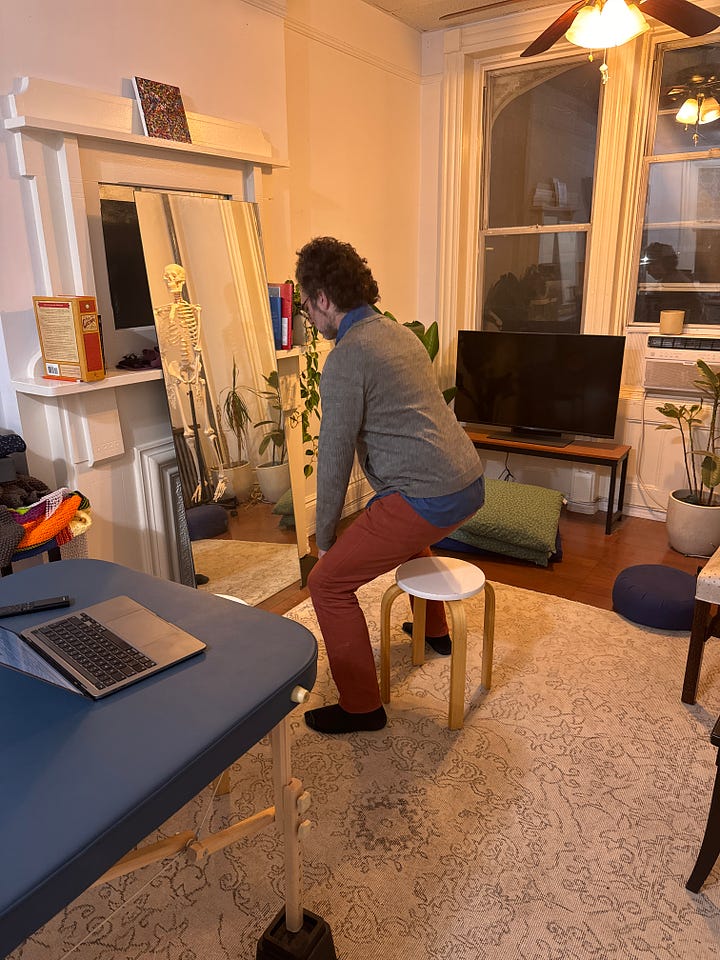
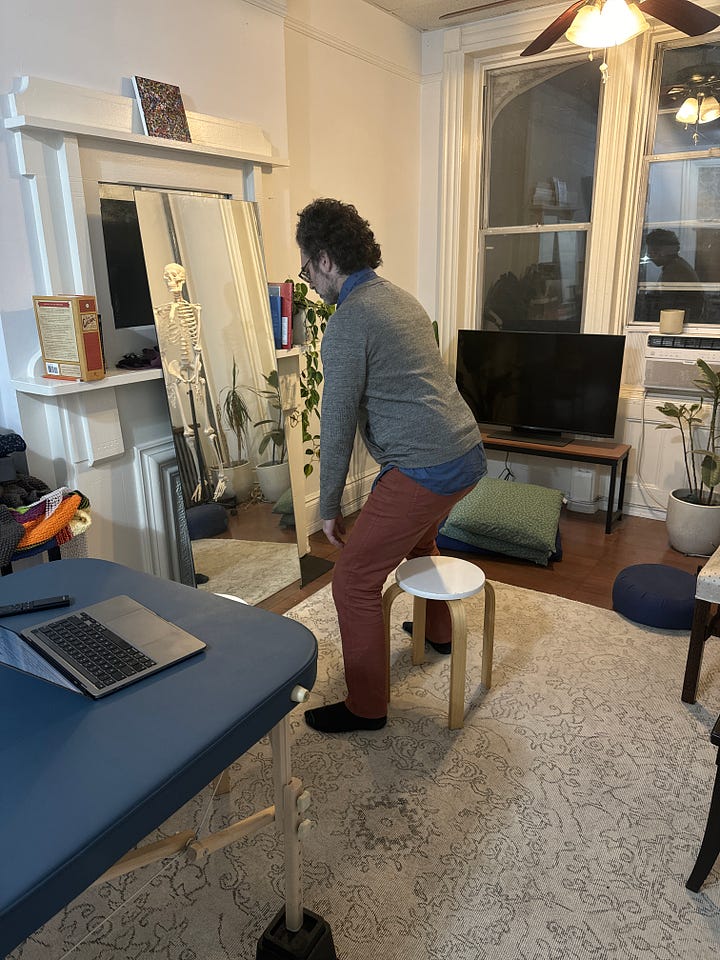
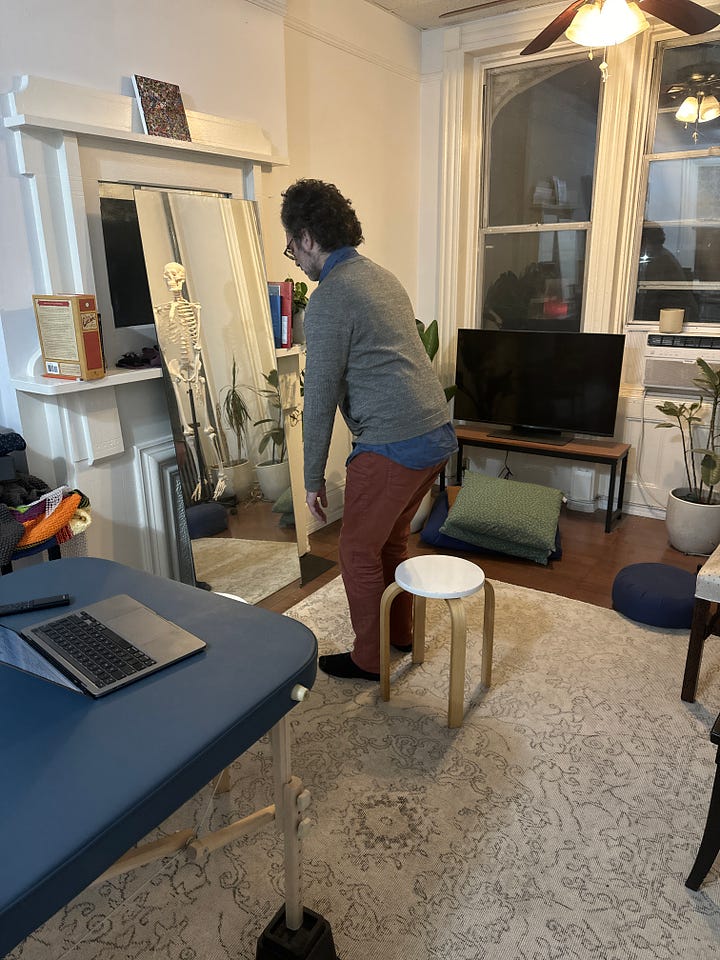
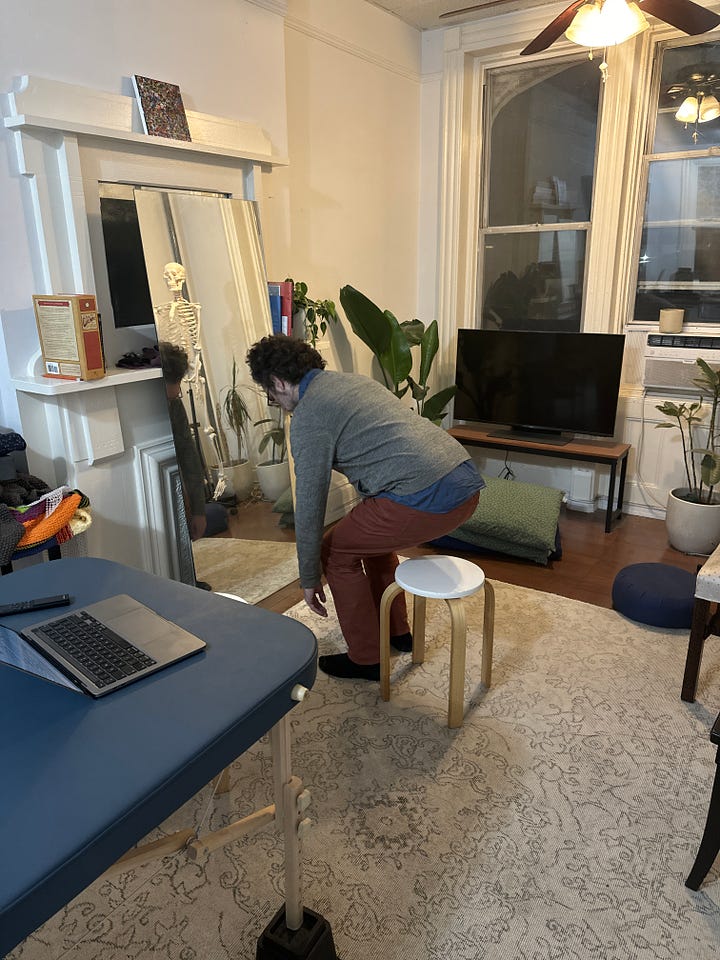
Here’s what I think you should feel when you do this:
The neck should not be adding tension at any point during the squat. It should in fact feel full and pliable.
The full volume of the torso should move altogether.
The hip should feel like a well-oiled/airy cushion. You don’t want to feel any tension building up in the joints where the legs meet the hip.
The knees and ankles should feel moveable and well-oiled (unless you’re missing cartilage).
You should be monitoring yourself for any pockets of dead weight or stiff weight!
If you’re performing this well, you should feel your feet on the ground for the duration of going up and down in the squat. You should have enough coordination to either go up or down whenever you like without feeling like you need to slam the brakes onto your momentum and grip up to course correct.
In time I super pinky swear promise to add videos to better explain how these activities can help you. In the meantime, if anyone has questions, please ask for help!
** Technically you have 4 balance points if you count the left and right sit bones separately. If you lean left and right, you’ll feel the weight shift there. That’s good to notice!

